Hi friends! We are thrilled to share this fun DIY project idea: creating an adorable snowman hat centerpiece you can enjoy all Winter long. For maximum impact during the holidays, print our rustic Christmas wall art as well!
Why this Project Works
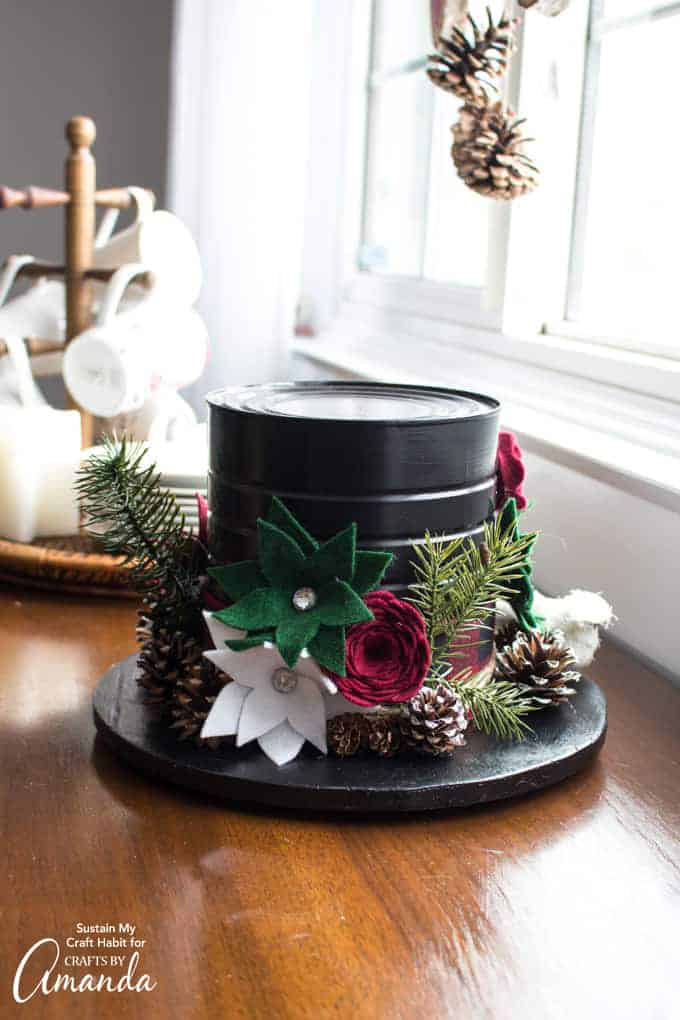
Can you guess the top hat of this centerpiece is made from? For most people, the answer lies within their morning routine – yes, it’s made out of coffee tin! At Sustain My Craft Habit, Jane and I pride ourselves on using materials found around the house or from nature to craft beautiful decor and crafts; and this centerpiece is no different!
This snowman hat centerpiece would look lovely when combined with pinecone luminaries or wood slice trees to give your home an overall wintery aesthetic!
Gathering materials and assembling this centerpiece was not only exciting, but the assembly process itself was truly exciting. From painting the coffee tin and embellishing pine cones to glueing the flowers on, watching all the pieces come together was truly rewarding. Check your house for creative ways you could turn these materials into beautiful centerpieces!
And for even more creative ways to repurpose items from your home, check out this upcycled candy tin turned pumpkin decor or this upcycled wine and liquor bottle room decor – a little creativity goes a long way!
Preparing the Top Hat
Use Americana Decor Satin Enamel to cover the outer surface of a coffee tin in classic black with one coat of paint before waiting for it to dry and applying another layer for full coverage.
Paint the base of the top hat classic black, using either plywood cut to 14” diameter, a round tray, large plate or platter as our model.
Tip: add felt pads to the bottom of a top hat centerpiece so it can be moved around easily without scratching up your table surface.
Painting Pine Cones:
With a fine tip acrylic paintbrush and some white acrylic paint, add some white highlights to the tips of pine cones to simulate snowfall.
Assembling the Hat Centerpiece: Whilst working quickly and carefully, apply a generous amount of hot glue along the top edge of a painted coffee tin before flipping it upside-down and placing onto its center on a painted base. Keep holding until all glue sets.
Tie the twine three times around the base of your top hat and glue the ends together into a bow for extra security.
Finishing Your Top Hat Centerpiece:
Divide the hat into 3 sections and arrange any embellishments within each of them in this order:
Hot glue should be used to secure faux greenery to the top hat, felt flowers in groups of three or more per section and any desired embellishments such as birds. Glue painted, glittered or plain pine cones to the base of the top hat; glue the bird and any additional desired embellishments as desired using hot glue.