Kids can make friendship bracelets using their favorite colors to share with their friends! There’s nothing sweeter than an everlasting token of friendship to treasure for years to come.
Why We Liked This Project
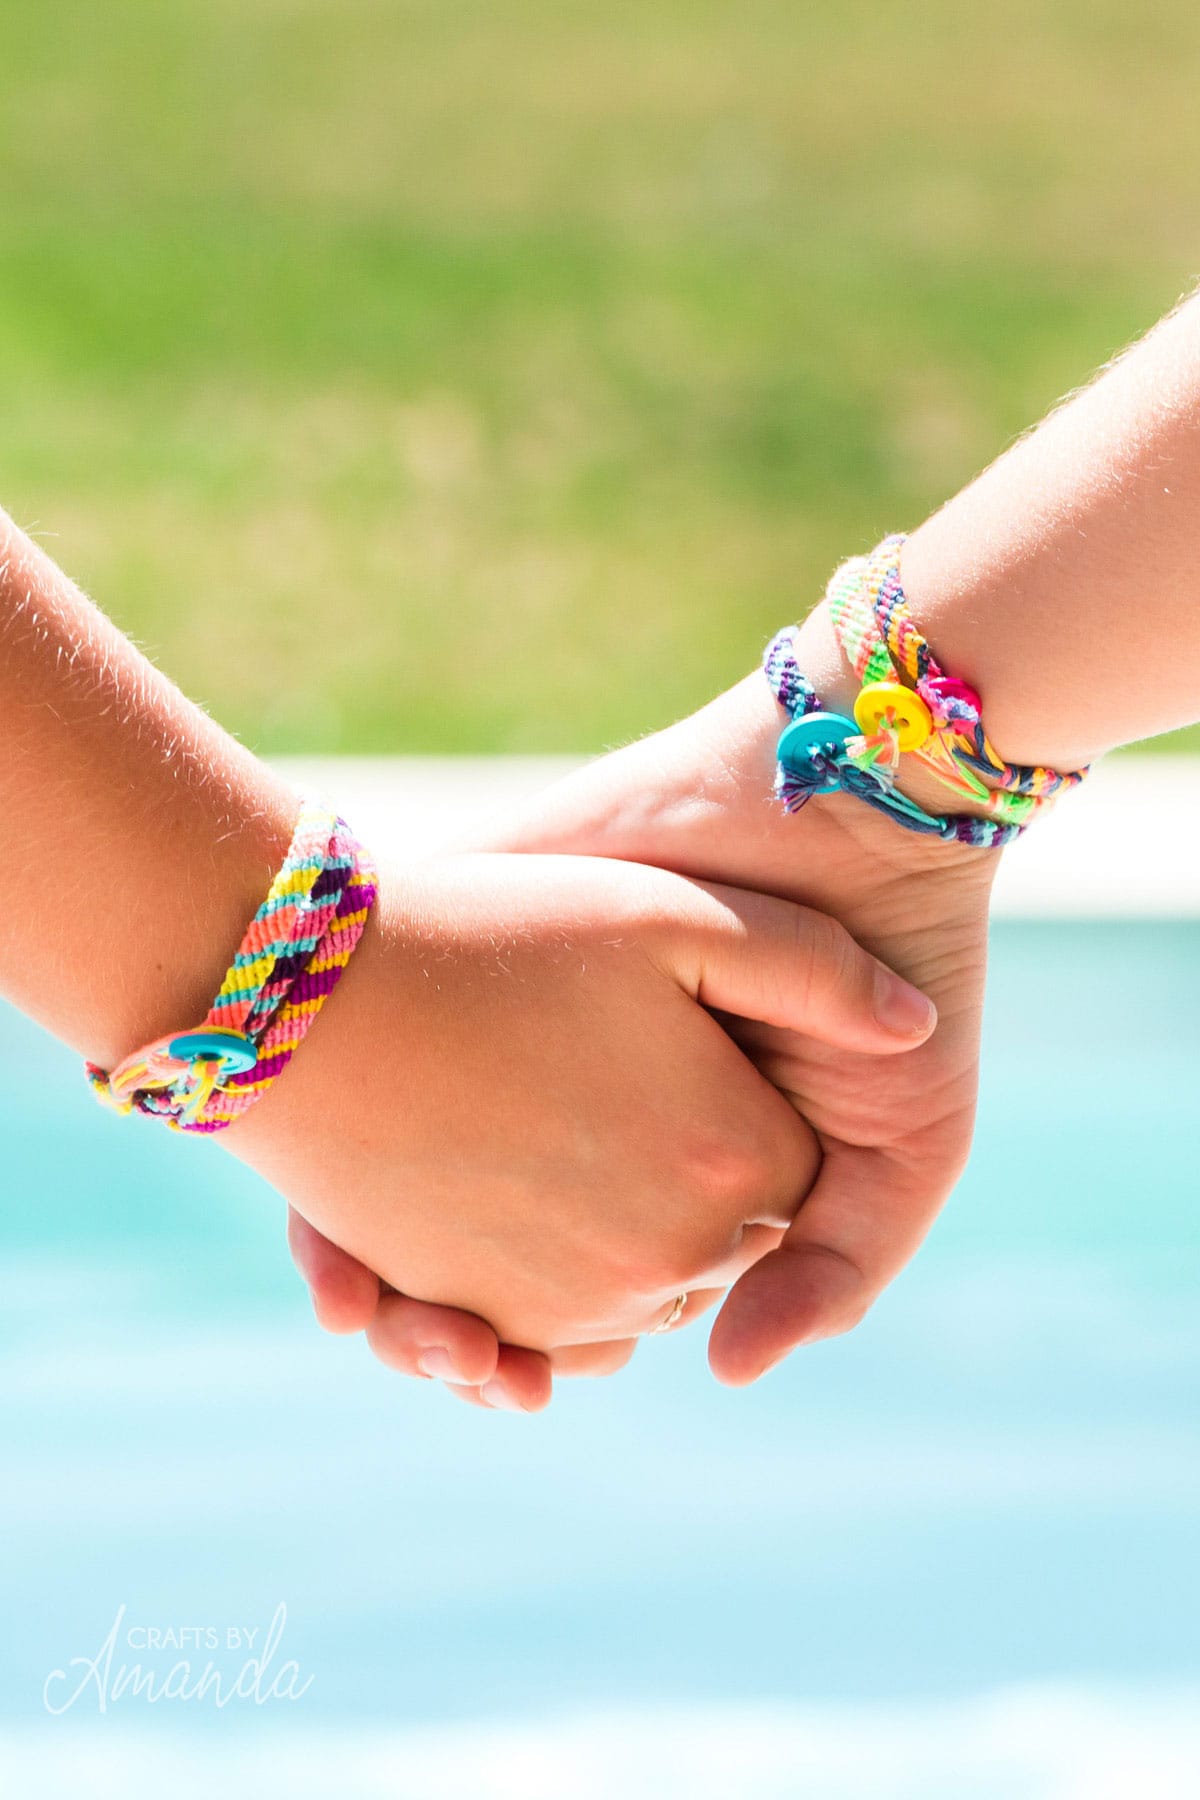
In traditional practice, bracelets are tied on while making wishes for friends – when one falls off it’s said their wish will come true! Even though ours has a button closure instead of being tied around one’s wrist like other styles do, I still make wishes as I give away my bracelet – that’s the essence of friendship!
Friendship bracelets are all about patterns. A candy stripe diagonal pattern is an excellent place to start for beginners; simply make two knots per strand as you weave a diagonal weave pattern across it all.
If you’re giving this bracelet as a present, consider including an adorable personalized stenciled frame featuring both of you!
Craft Tips: Working at a table makes working more efficient. Tape one end of your loop onto it at arm’s length on the table surface, and let the floss hang freely off it in front of you.
If you want a break from knotting, simply finish one row of knots before taping down one strand on the far left, separate from all others. When ready, simply take off the tape and start knotting again!
If your bracelet begins to curl, “blocking it” may help make it lay flat again. Once finished, tape it down onto a flat surface, pulling tight so that taut. Spray on some water to spray onto it as you spray and leave to dry in that position before removing tape and taking away bracelet.
How to Make Candy Stripe Friendship Bracelets:
Take Measure of Your Wrists: With extra piece of floss wrapped once around each wrist, measure the approximate length for a bracelet using this method. Cut at this spot where floss connects. This length should serve as your approximate bracelet measurement.
Measure your floss: For accurate measuring of floss pieces, the general rule is to cut them at an approximate length between your fingertips and shoulder. Simply hold one end in your fingers while stretching out your arm two times so you end up with one long piece extending double from fingertips to shoulder; do this for all three colors of floss.
Make the loop for button closure: Take three strands of floss together and fold them in half with an overhand knot at their intersection, creating an overhand loop at where you tied it; this loop will serve as your button closure loop.
Set out six strands of floss in any order you like. The strand on the far left will serve as the basis for the first row; tie knots around it to secure its position among all other threads of floss.
Note: If two colors of the same hue are adjacent, this will result in a wider band of that hue in your bracelet.
Make the Knots: For this bracelet, use the forward knot, which creates knots that run from left to right along a line, as is seen when reading.
1. Take the first strand on the left and shape it into a number 4, using its partner as the straight line of its “4” shape. Ensure the first strand goes over and behind its counterpart; this will create the right look.
Once your knots are tied, add the button: Take your button and slide three strands of floss through one hole at a time – you may need to roll their ends together slightly for them to pass through easily – until both holes are full. Tie each two-strand section in an overhand knot before trimming any extra floss off.
Once your bracelet is complete, simply wrap it around your wrist and slide the button through its loop to secure it.
Friendship bracelets originated in Guatemala and made their way to America during the 1970s. Friendship bracelets can be considered a type of macrame due to its intricate knotted patterns. It’s become an accepted tradition to create and give one as a token of lasting friendship.